‘Short-knockers’ can be great ‘long-ballers’ too
Of all the drills I might bring to the lesson tee, there is one that leaps to mind as having achieved the most dramatic results. Having prescribed this drill to treat the ails of short hitting, I often experience the delight of watching a student discover an unknown “reserve” of extra yardage viewed previously as unattainable.
When performed consistently for even a short period of time, I’ve seen it add as much as 60 yards to a player’s tee shot while also lending greater accuracy for every club in the golf bag. I call it the “one armed extension drill” and it is, for many players, the key that unlocks explosive power.
The purpose of this drill is to “groove” the most ideal top of the backswing position to achieve power and accuracy. The four steps to achieving it are simple and you can work on it with or without a golf ball.
Step Number One:
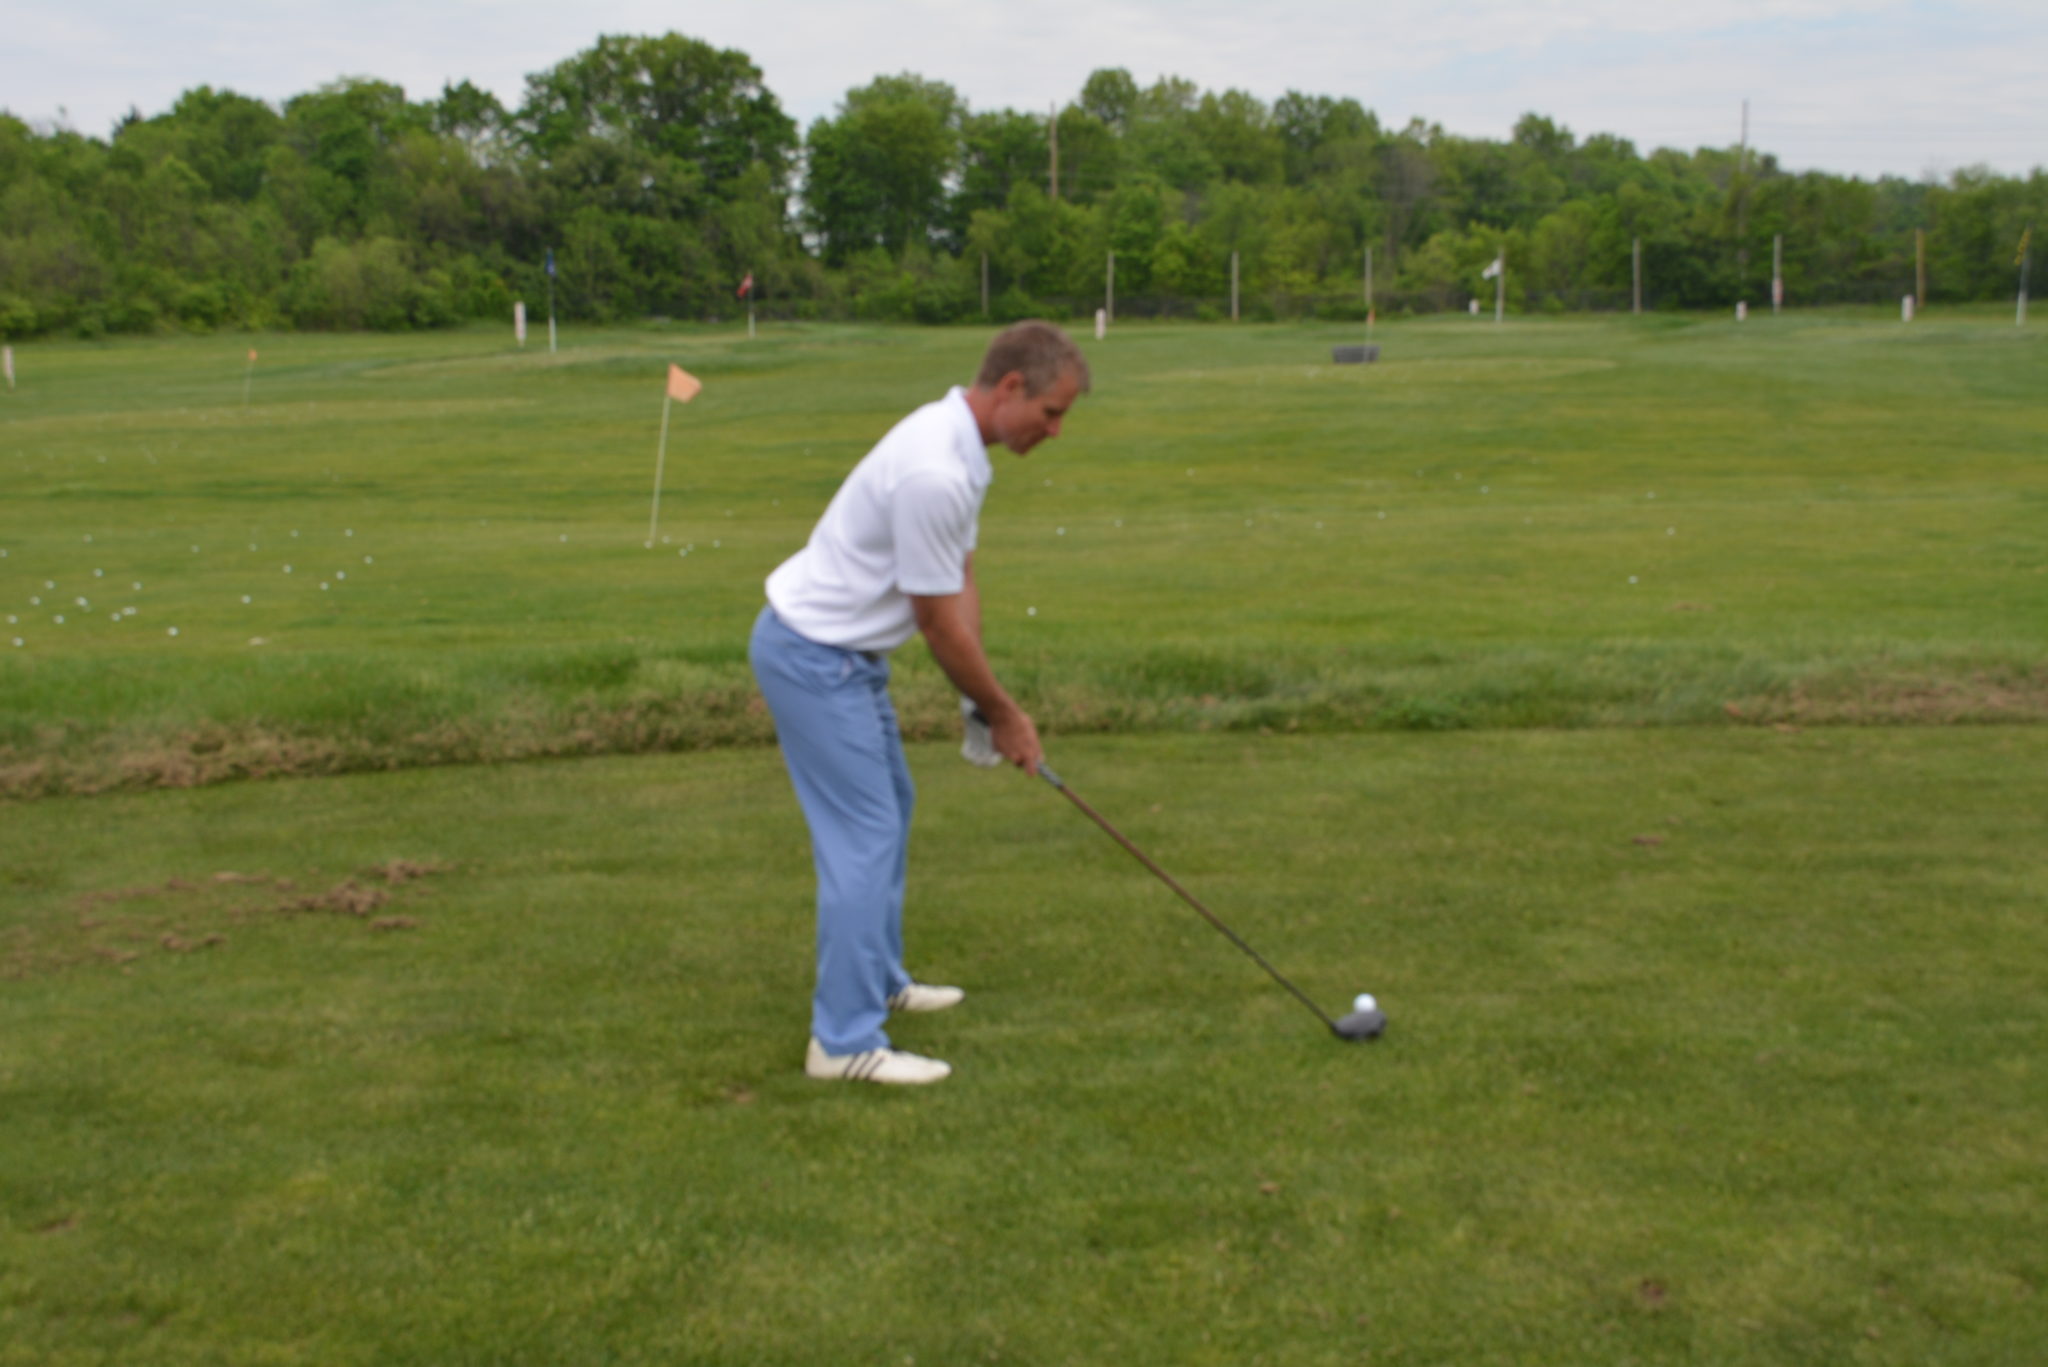
Approach the ball as usual.
Address the ball as you normally would with a short iron (you can work your way up to the driver). Take the left hand off the club and let it hang naturally.
Step Number Two:

Right arm parallel to the ground.
While maintaining your tilt over the golf ball, take the right arm straight back until it is parallel with the ground. You’ve gone far enough when your right hand is hovering directly over a straight line created by your heels. In this position, your right thumb (and shaft) should be pointed either perfectly vertical or turned slightly clockwise (somewhere between 12 o’clock and 1 o’clock as you look at it over your right shoulder).
Step Number Three:
Turn until your two hands meet.
Now it’s time to put the other hand on the club. Keep in mind that the right hand stays on your heel line. This means the left arm is the one that has to reach. How are you to do this? You have to turn. Keep you spine centered, MAINTAIN YOUR TILT OVER THE BALL, and turn until your two hands meet.
Step Number Four:
Cock your wrist, allowing the weight of the club to fall on the left thumb. You have now reached a very powerful position from which to initiate your downswing.
Repeat this process and look in a mirror every time you reach the top to get a feel for how it looks and feels. Once you feel comfortable with this position, start to initiate some through swings. After a short while, you’ll get the hang of it so you can arrive there on your own without having to go through all the four steps.
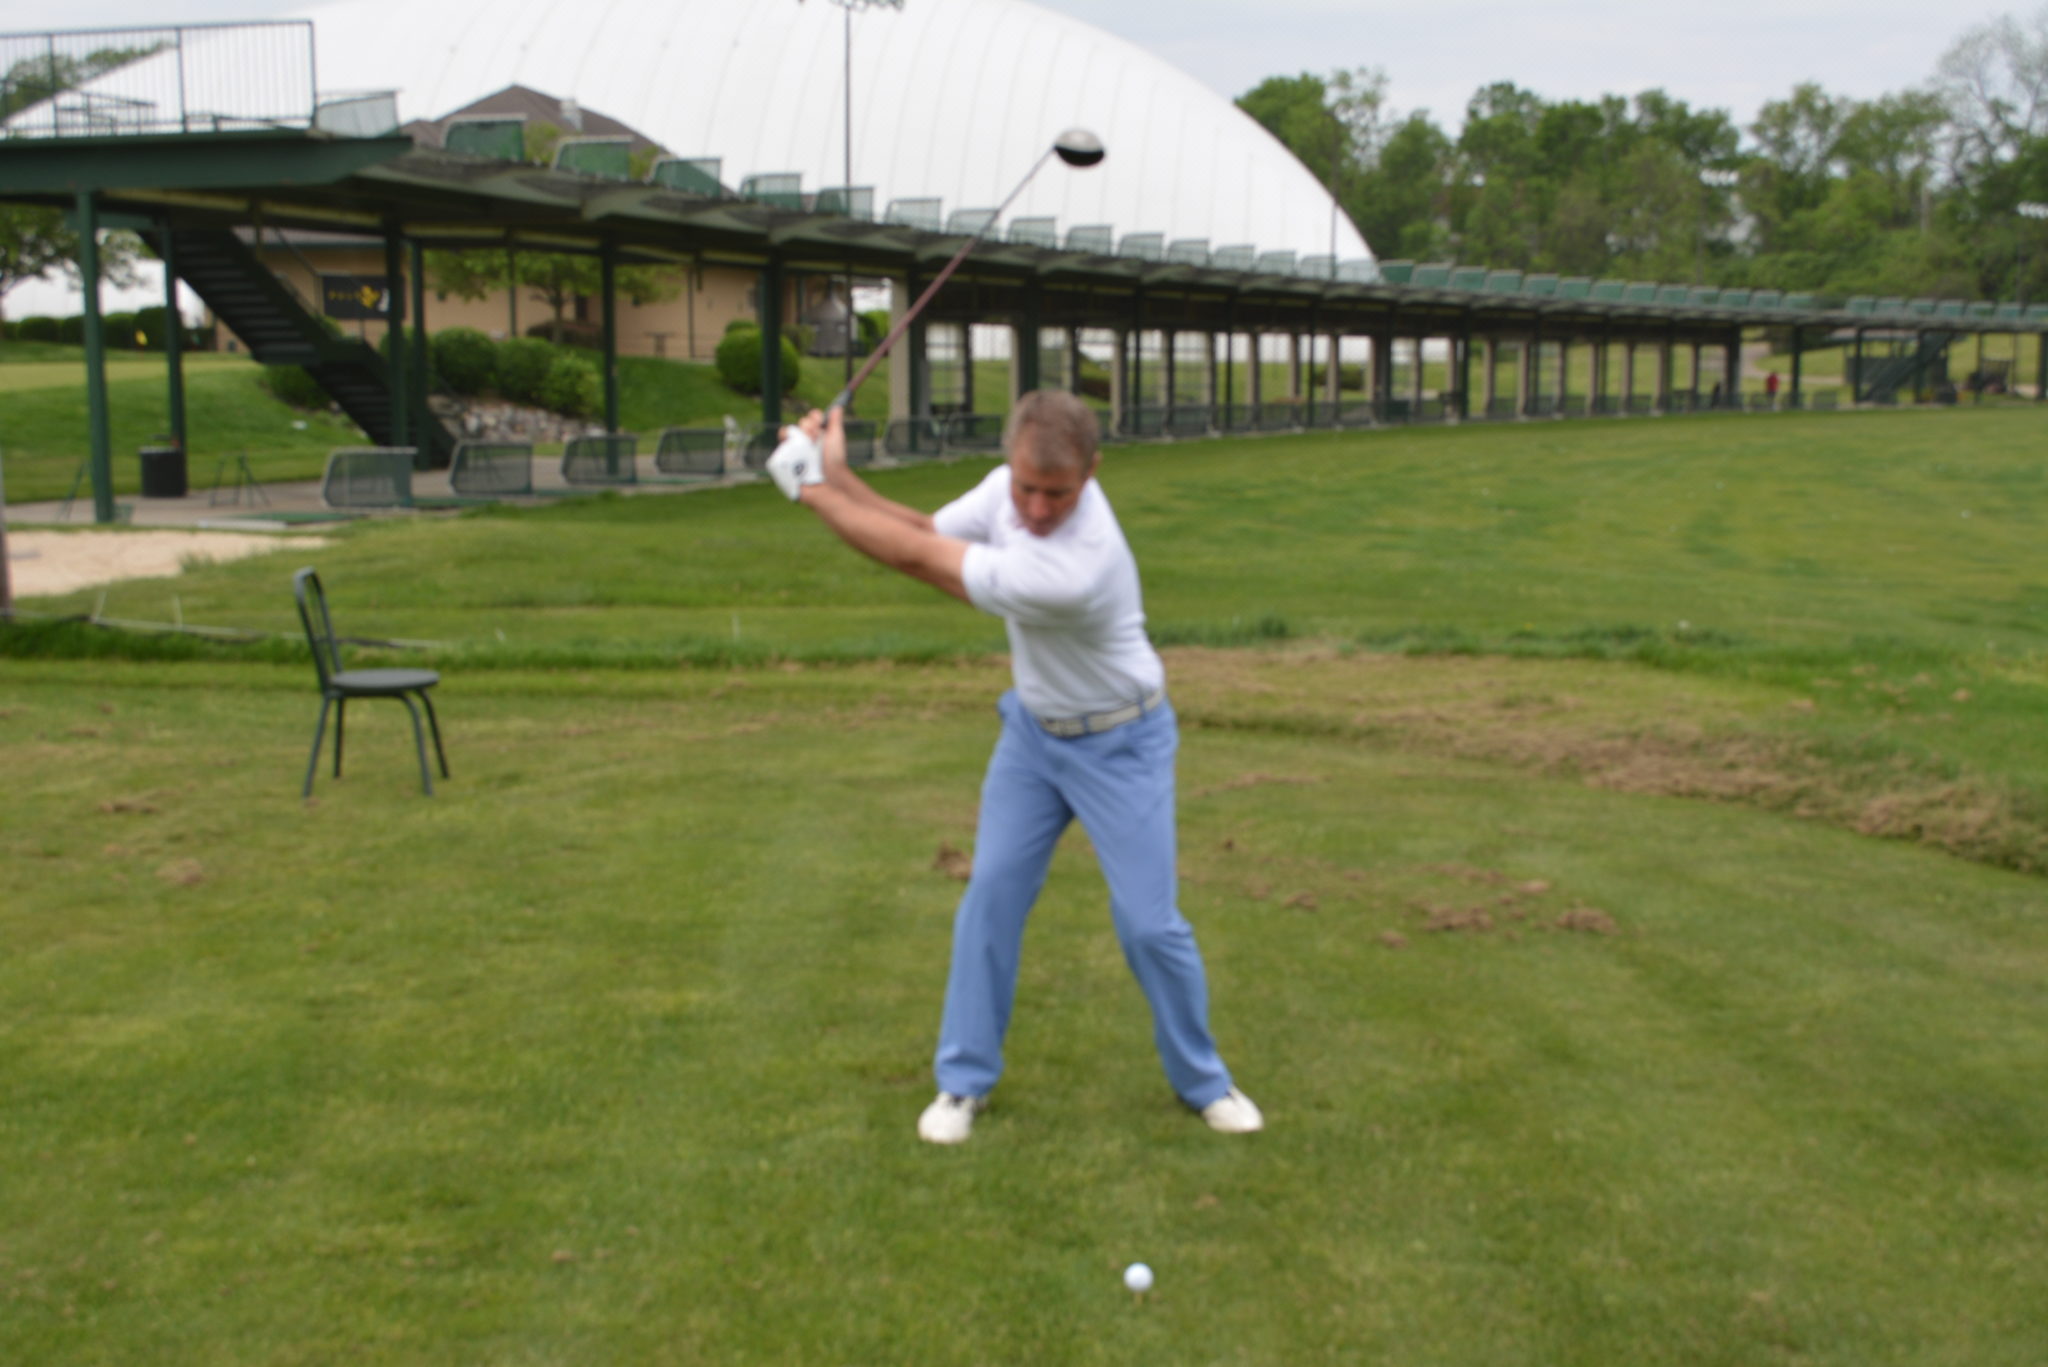
The Position:
There are a few things you should take notice of with regards to this position at the top:
First, it is correct to feel like your hands are very much in front of your chest. In fact, you should feel like your hands are in front of your chest throughout your entire golf swing. The idea is tossing as wide as possible, and because your hands are together on the club, the most extended your hands can be from your swing center is directly in front of your chest.
Doesn’t this position ask for a flying right elbow? No. A flying elbow is when the tip of the elbow is pointed out, parallel to the ground. While you want the elbow away from your body, the tip of your elbow should be pointed to the ground. Think about skipping a rock across a pond. To get the most skips, your throwing arm should be fairly extended, but with the elbow pointed down.
Greater Accuracy
If you are sold on the idea of extension creating greater potential for club-head speed, don’t forget it will also keep your ball on the “straight and narrow.” There are two reasons why extension leads to greater accuracy:
First of all, extending properly allows the club to travel very near the line of flight. As a result, even your miss-hits will fly straighter.
Secondly, because your swing is wider, you instinctively will realize a need to slow down your turn in order to allow time for the club to travel this larger arc. This will result in you developing a graceful, more rhythmic motion free of all the yanks and lunges that can send the ball traveling off line.
Getting Loaded
I can’t begin to describe the benefits of getting loaded in this full extended “slot” at the top. Like all principal teachings in golf, the benefits of this drill are maximized if preceded by a correct grip, stance, posture and alignment.
I hope you’ll give it a try. Practicing this drill can give you a much clearer understanding as to how and where power is produced in the golf swing. And as an instructor, I can tell you it’s quite rewarding to watch someone go from being the “short knocker” to the “long baller” in a relatively short period of time.